


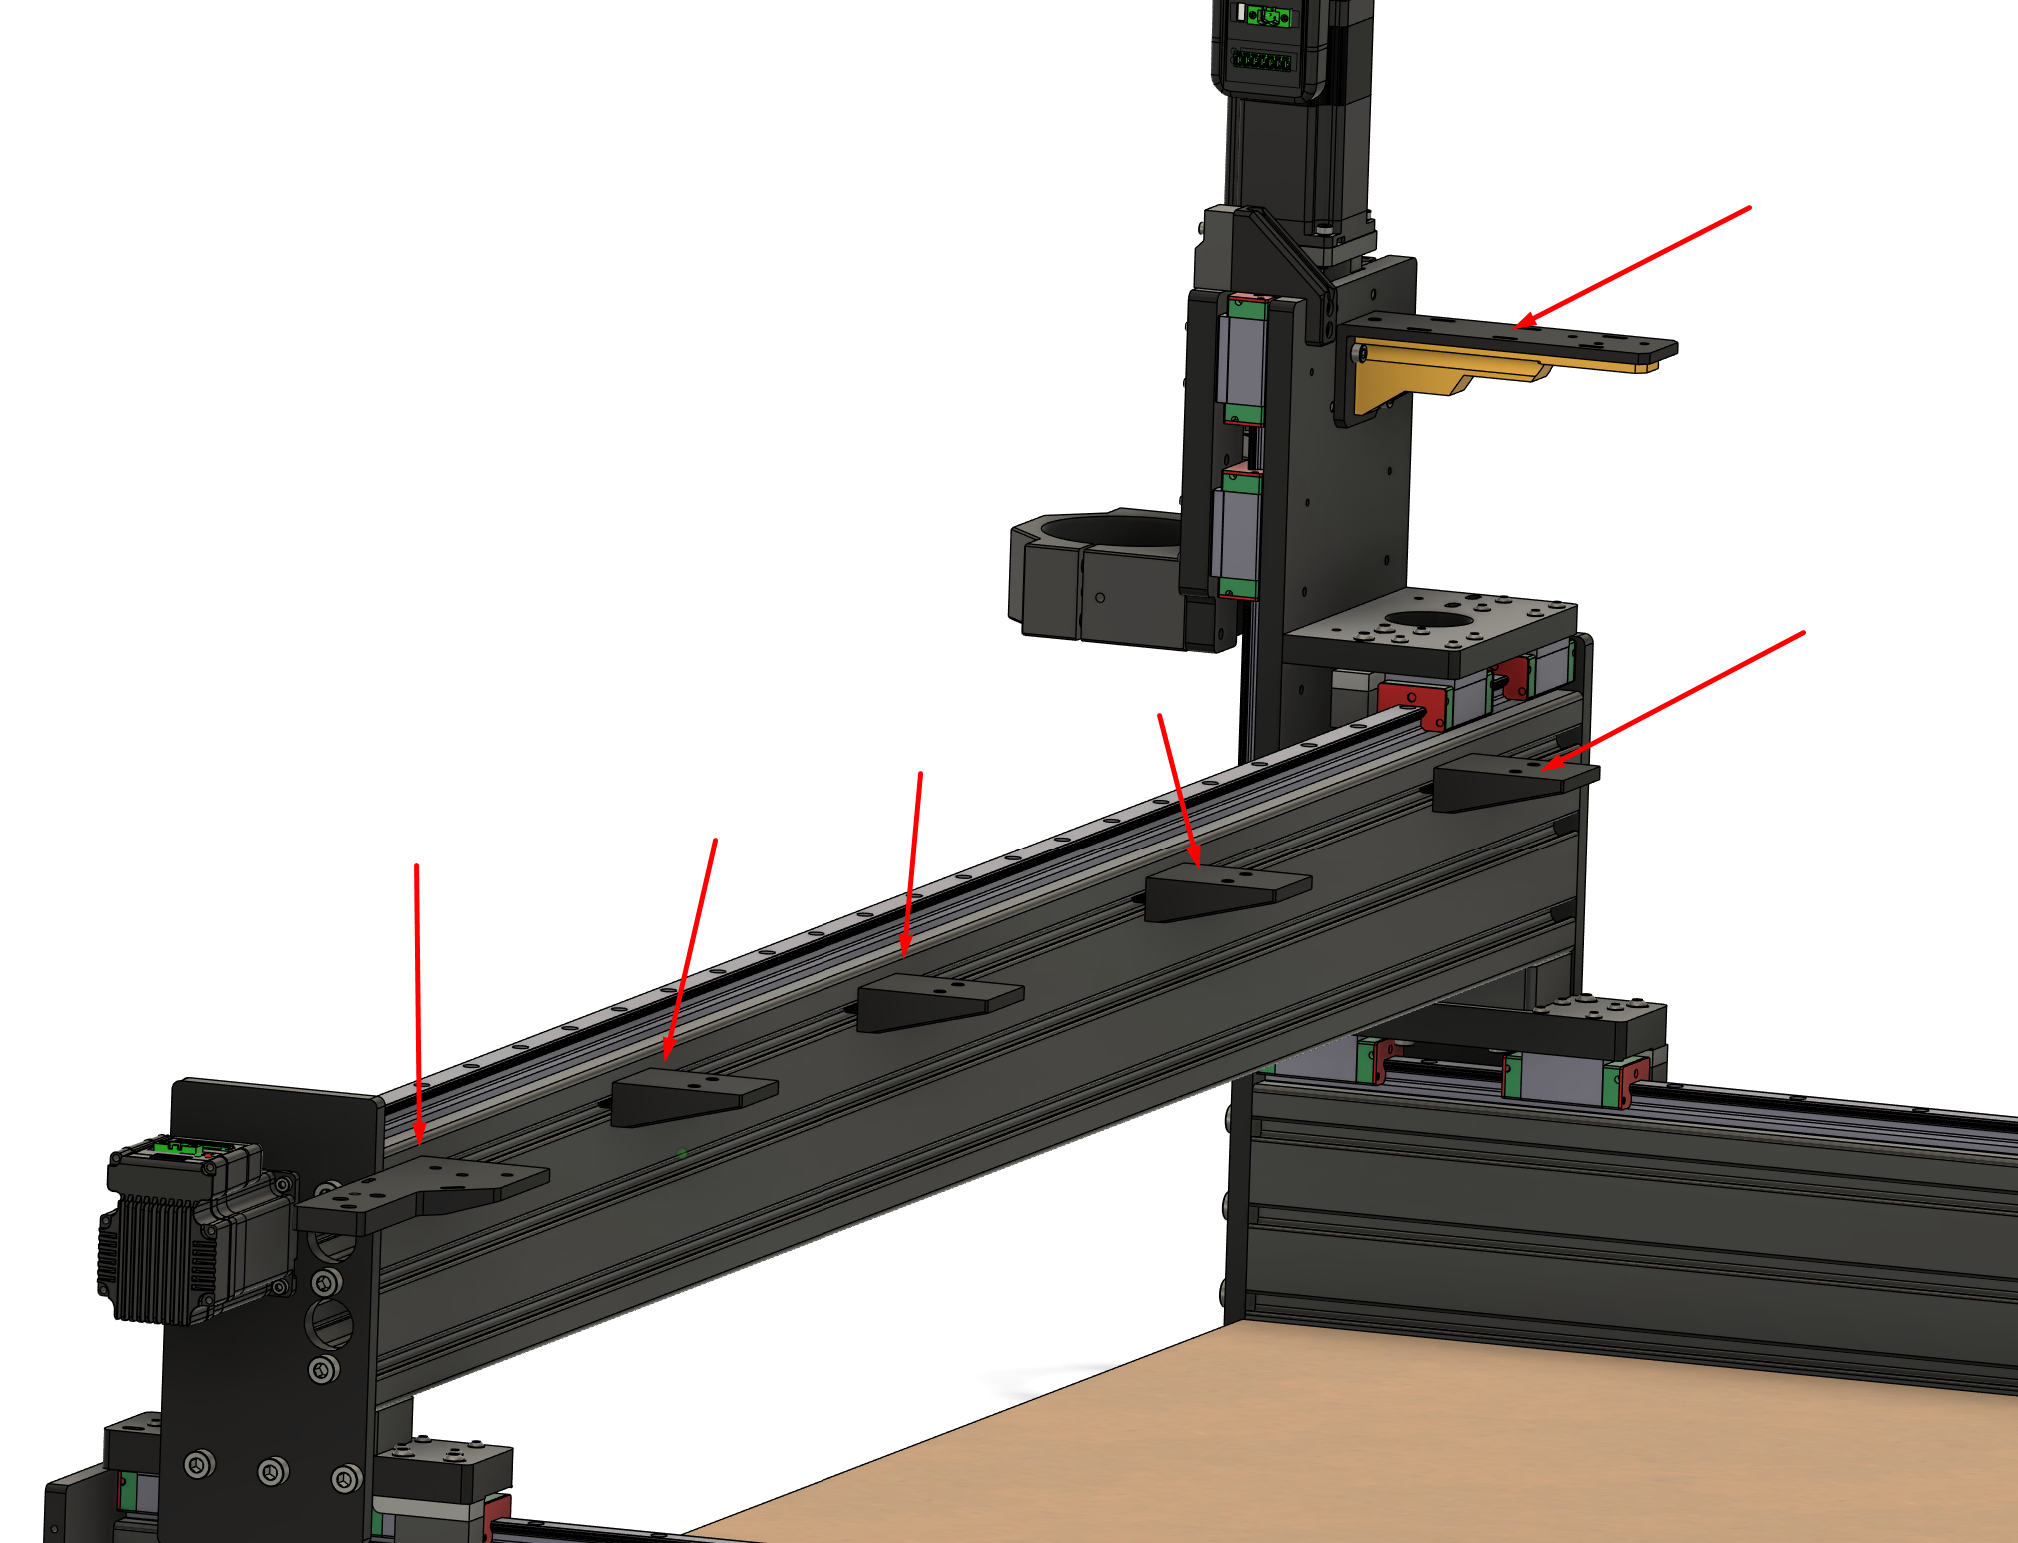
All cable chain brackets included with your machine are shown below:
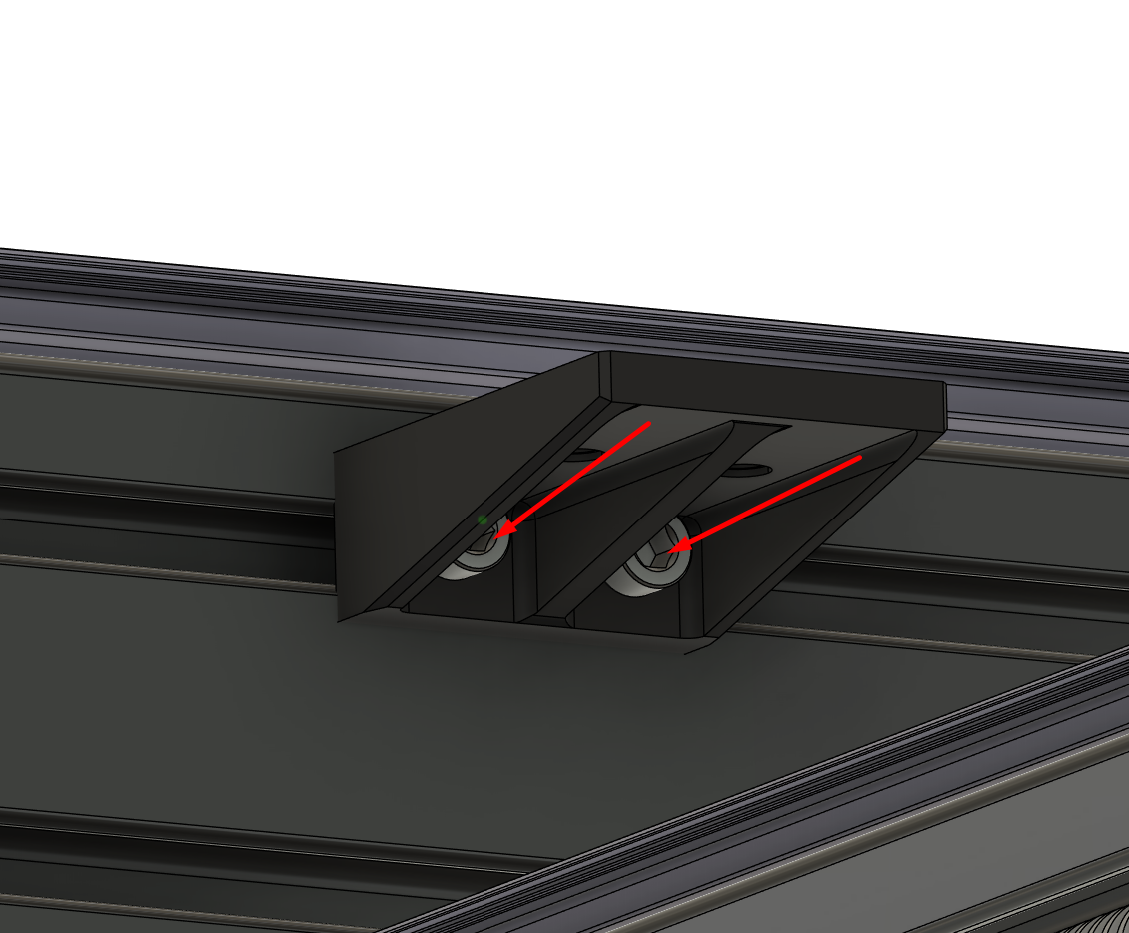
T-nuts are pre-placed into this single t-track. Two nuts per bracket.
The main Y bracket is positioned on the far right side of the machine.
Note: It has several oblong holes you can use zip-ties to cleanly secure wires later on.

There are multiple mid-placed brackets to support the chain as it travels the gantry.
Note: You will find brass heat inserts in these but not all of these will be used.
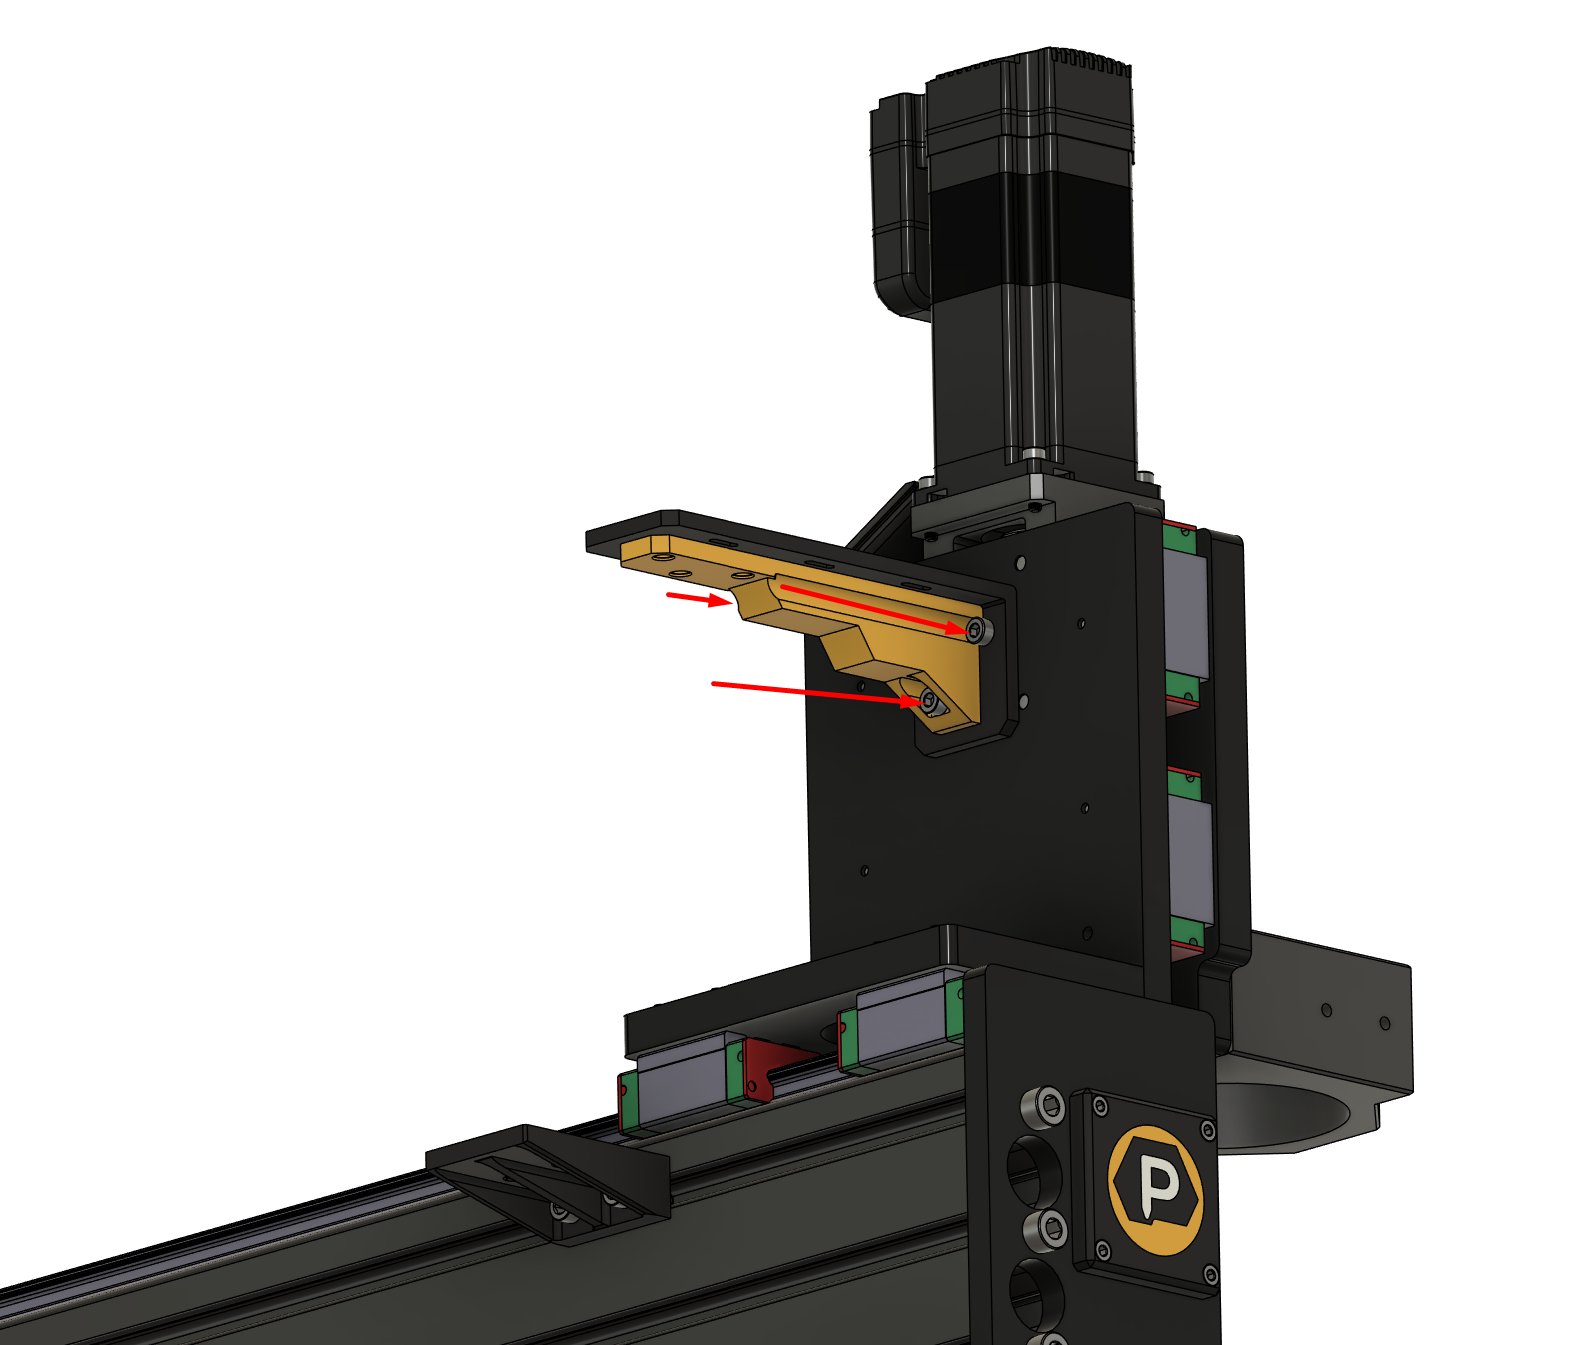
The main X bracket is attached to the rear of the Z carriage using 3 screws.
Note: It has several oblong holes you can use zip-ties to cleanly secure wires later on.
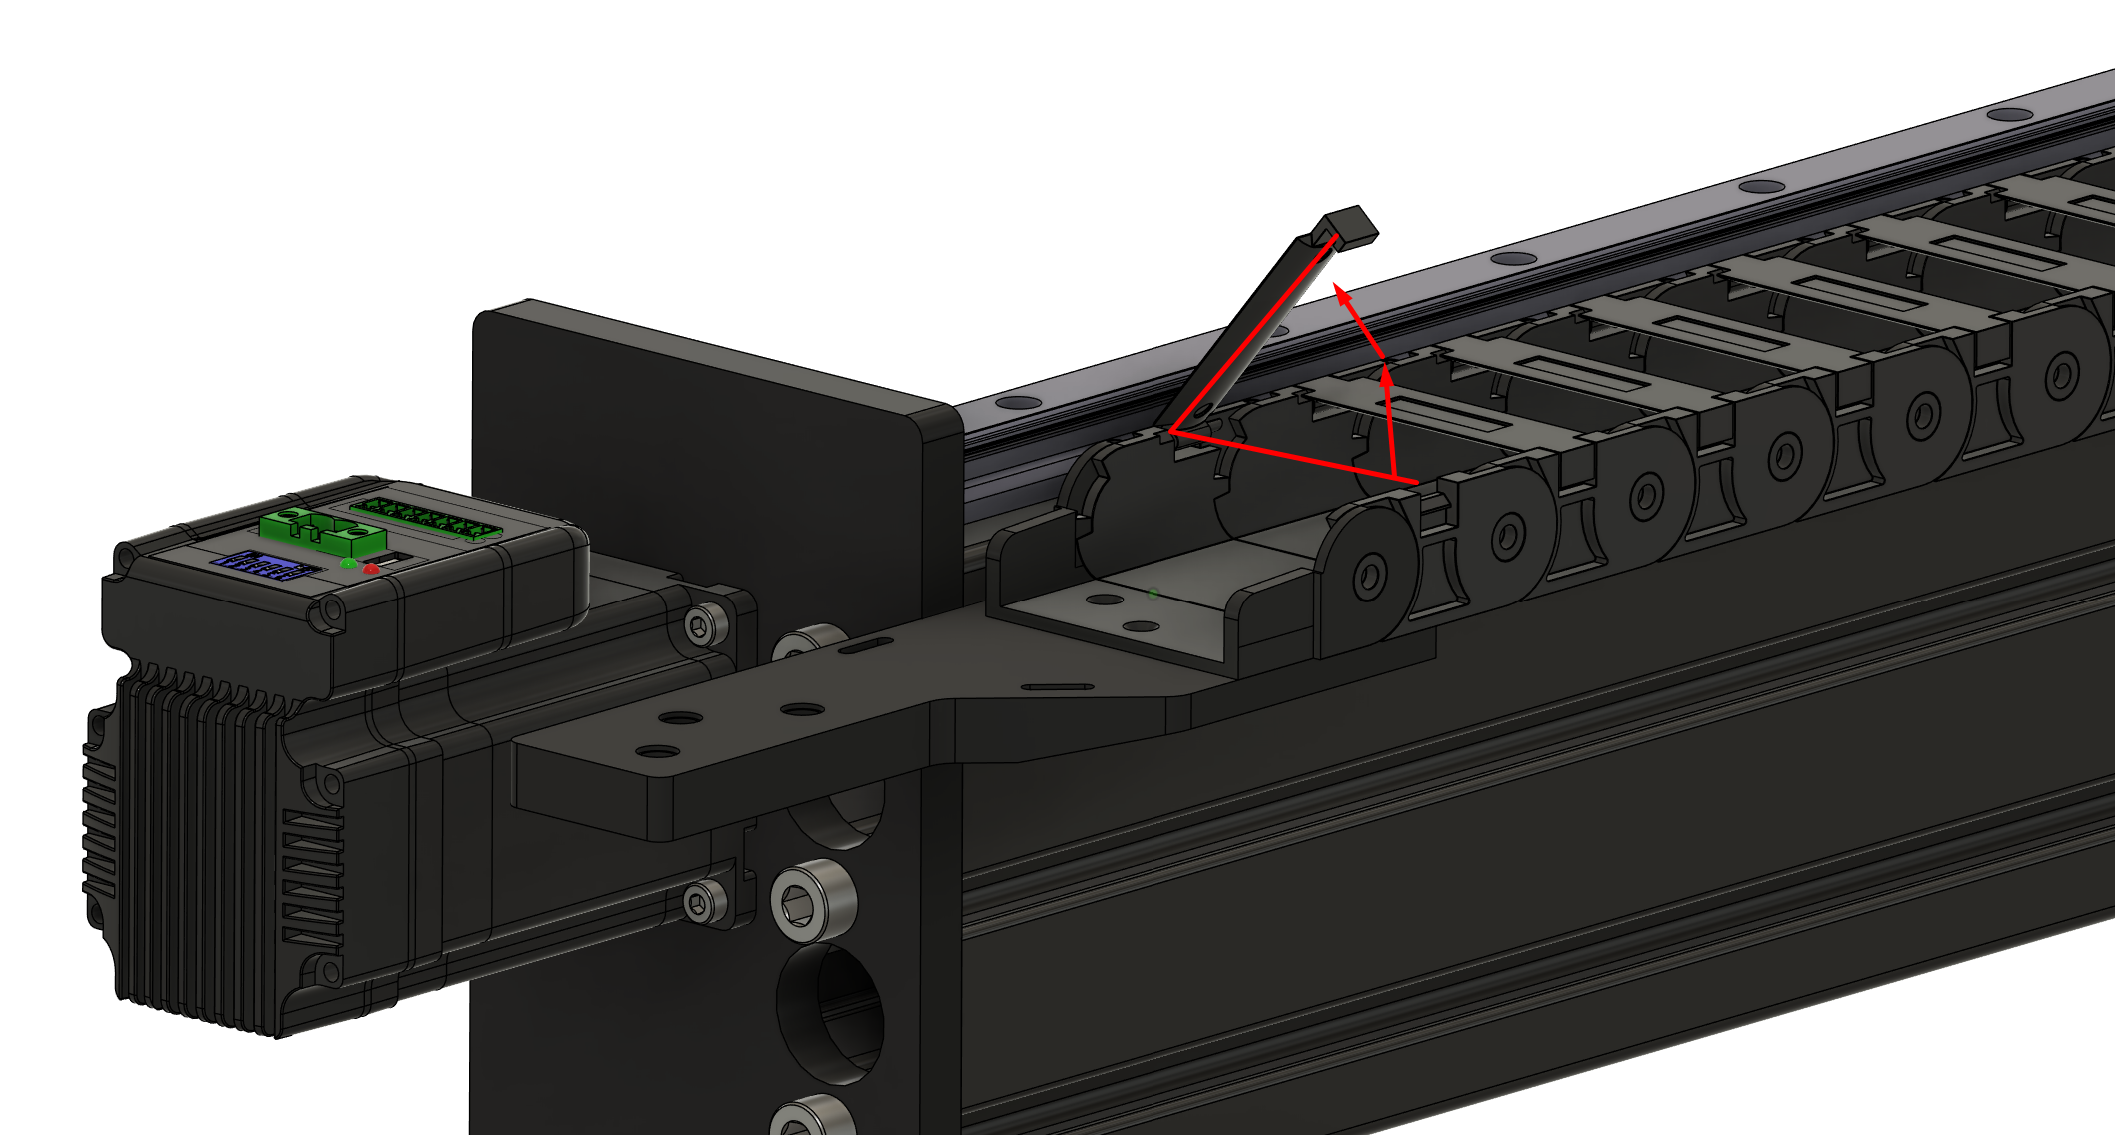
Next you'll want to attach the X cable-chain:
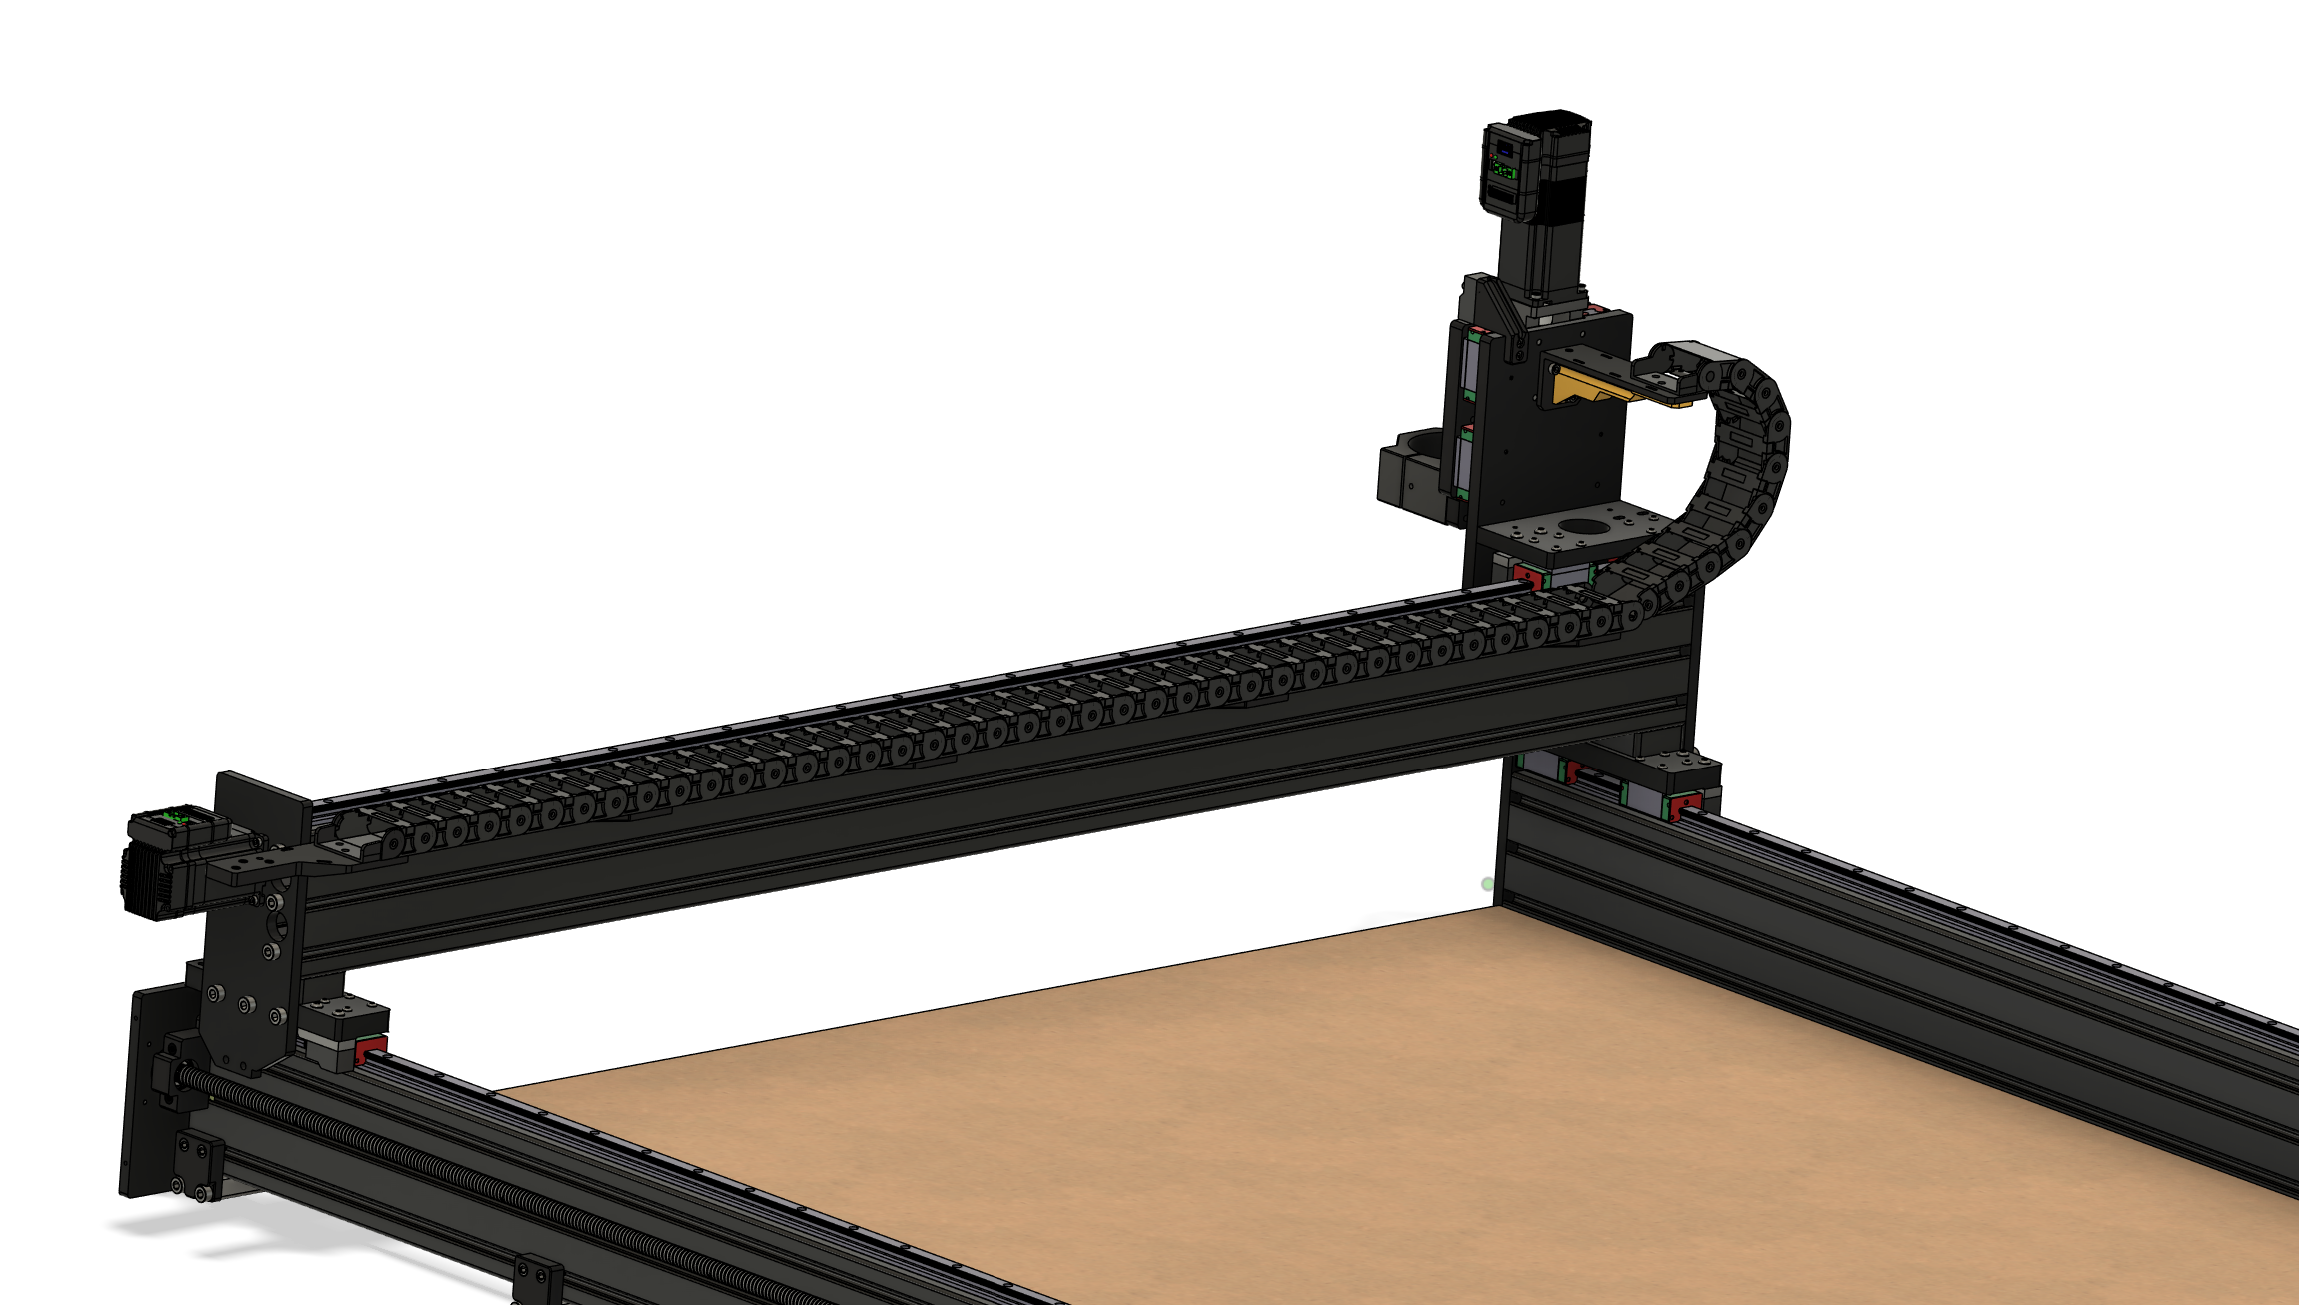
For ease of installation later, be sure to pick the cable chain (to use as your X chain) that allows the chain to open as shown below.
Lastly... Set the Y cable chain aside for now as it will make wire installation much easier and go faster if you don't have to deal with two chains.
The Y chain can be installed at a later point.

