

Installing Stepper Motors

Installing both Y steppers is easy...
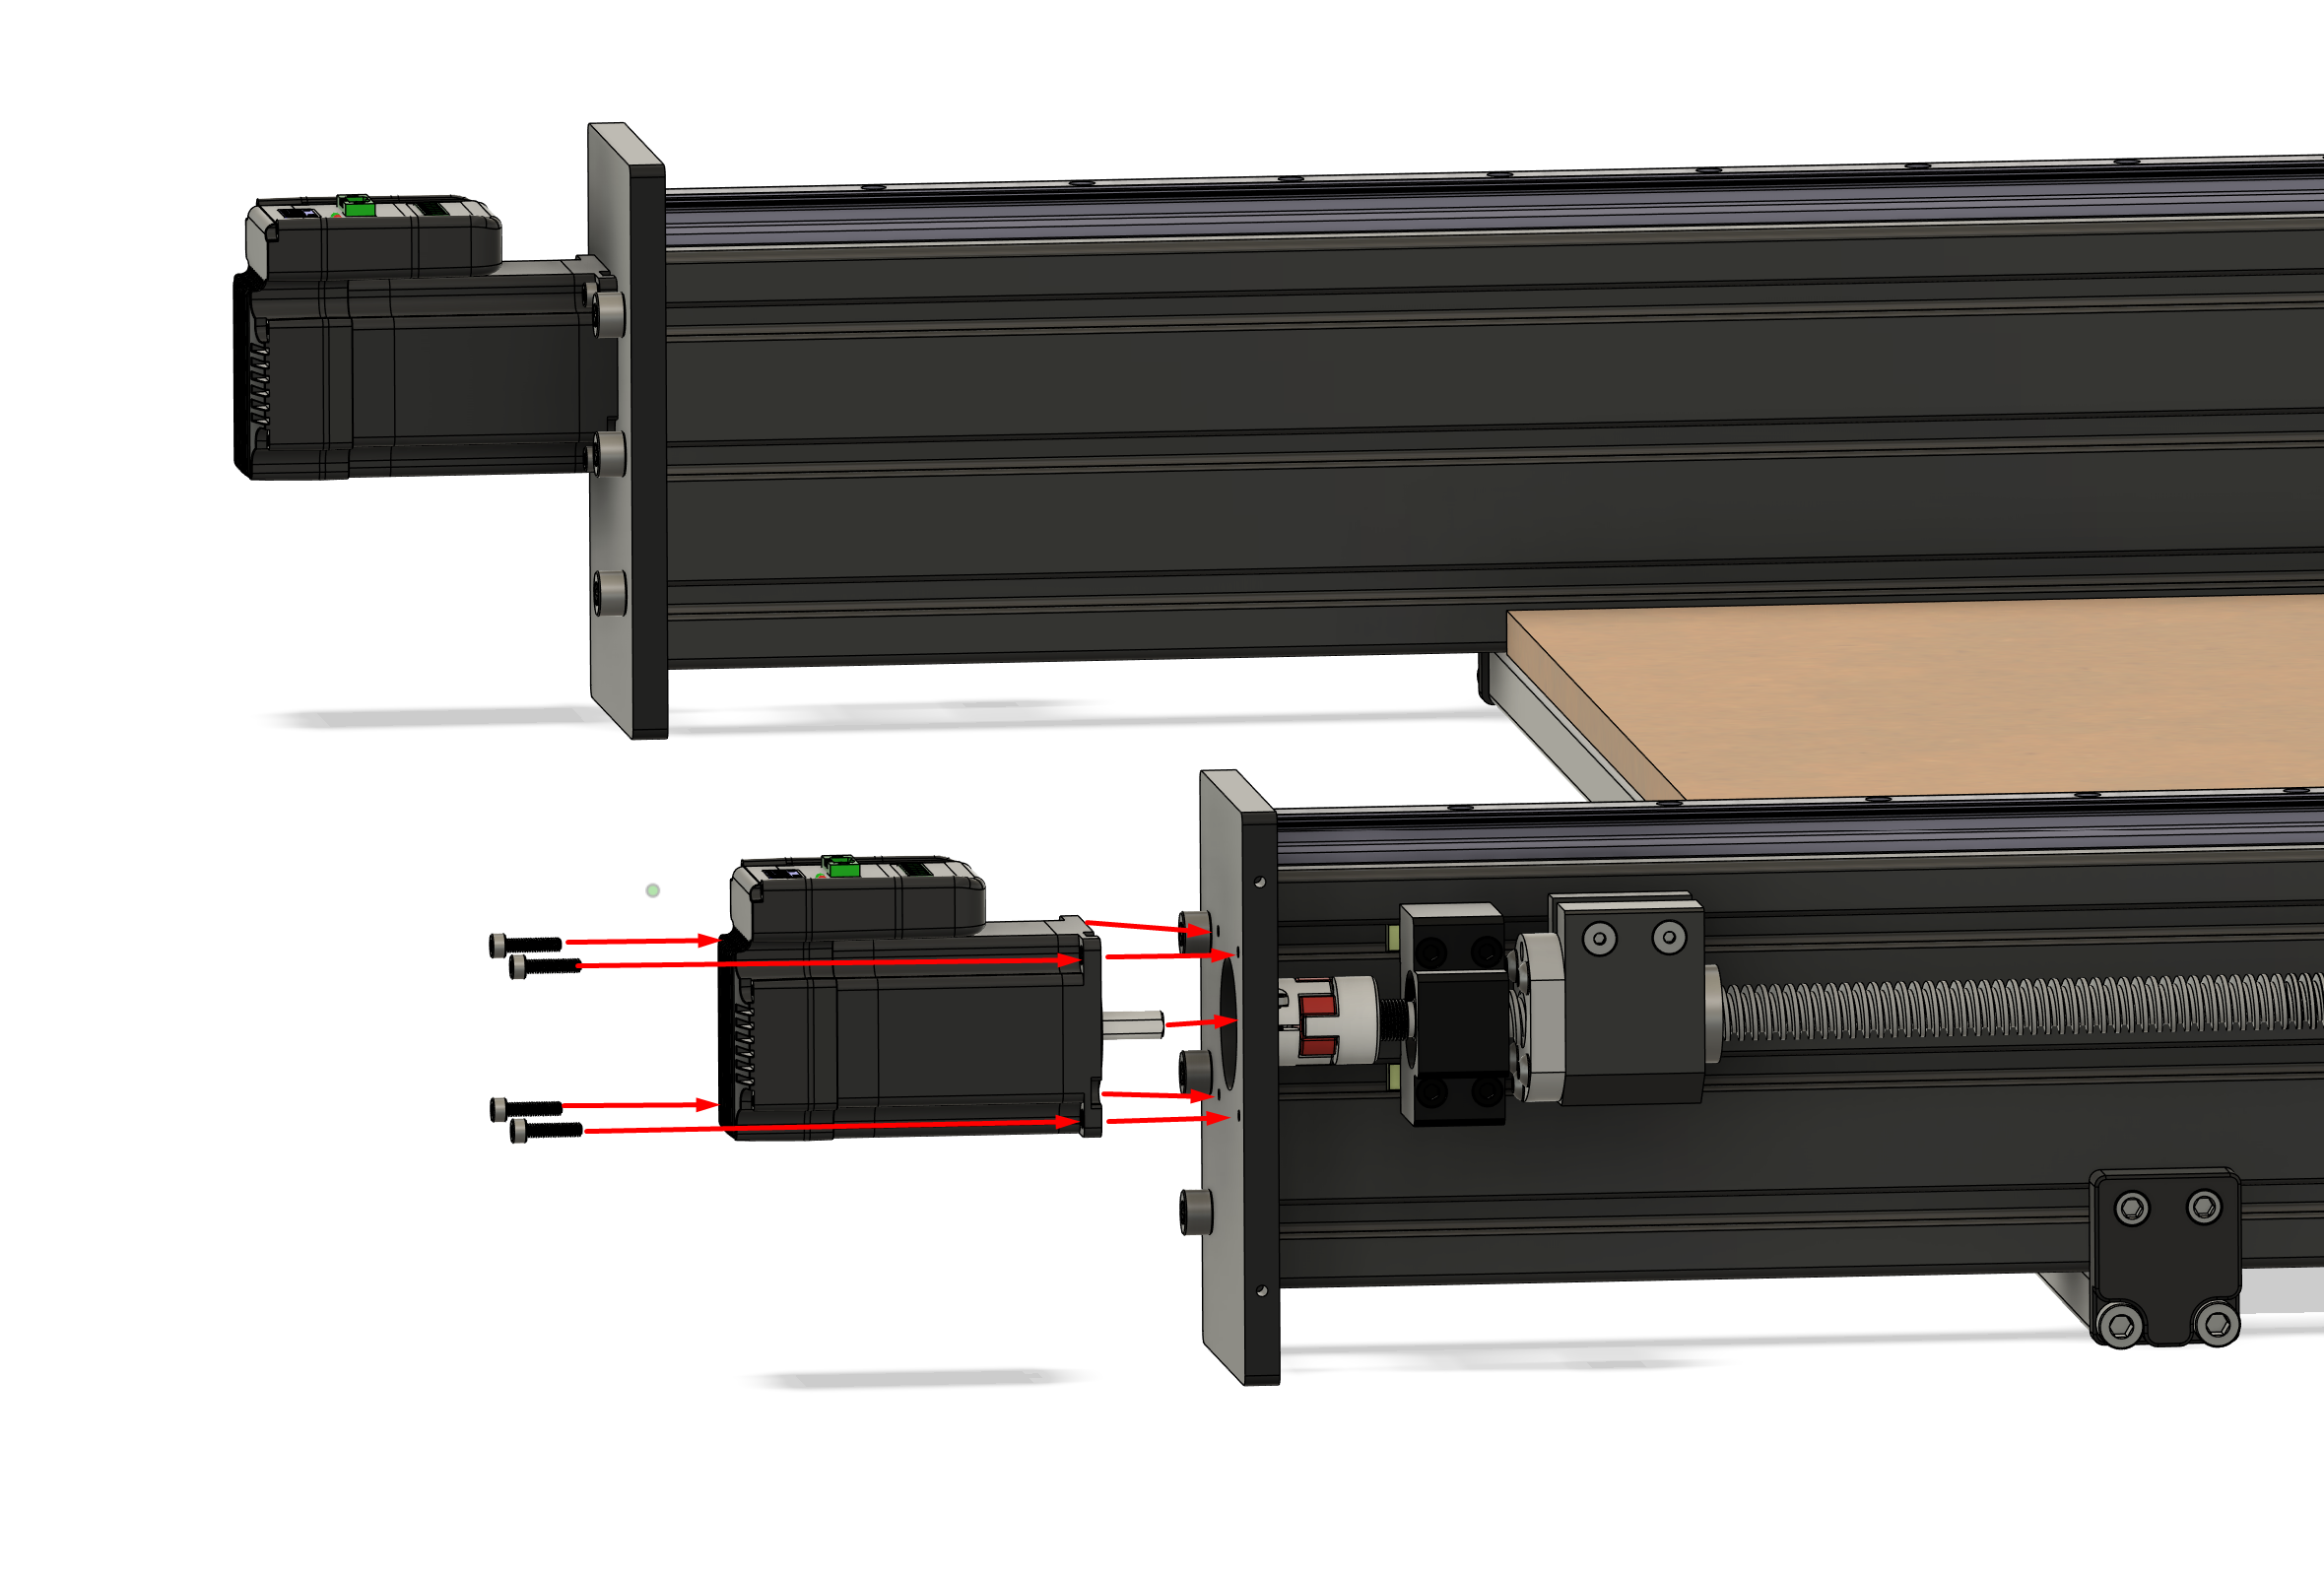
Covers will be installed as one of the final steps. For now, we simply need the steppers mounted onto each Y plate.
Do not tighten the motor coupler yet (that red/silver part attached to the screw).
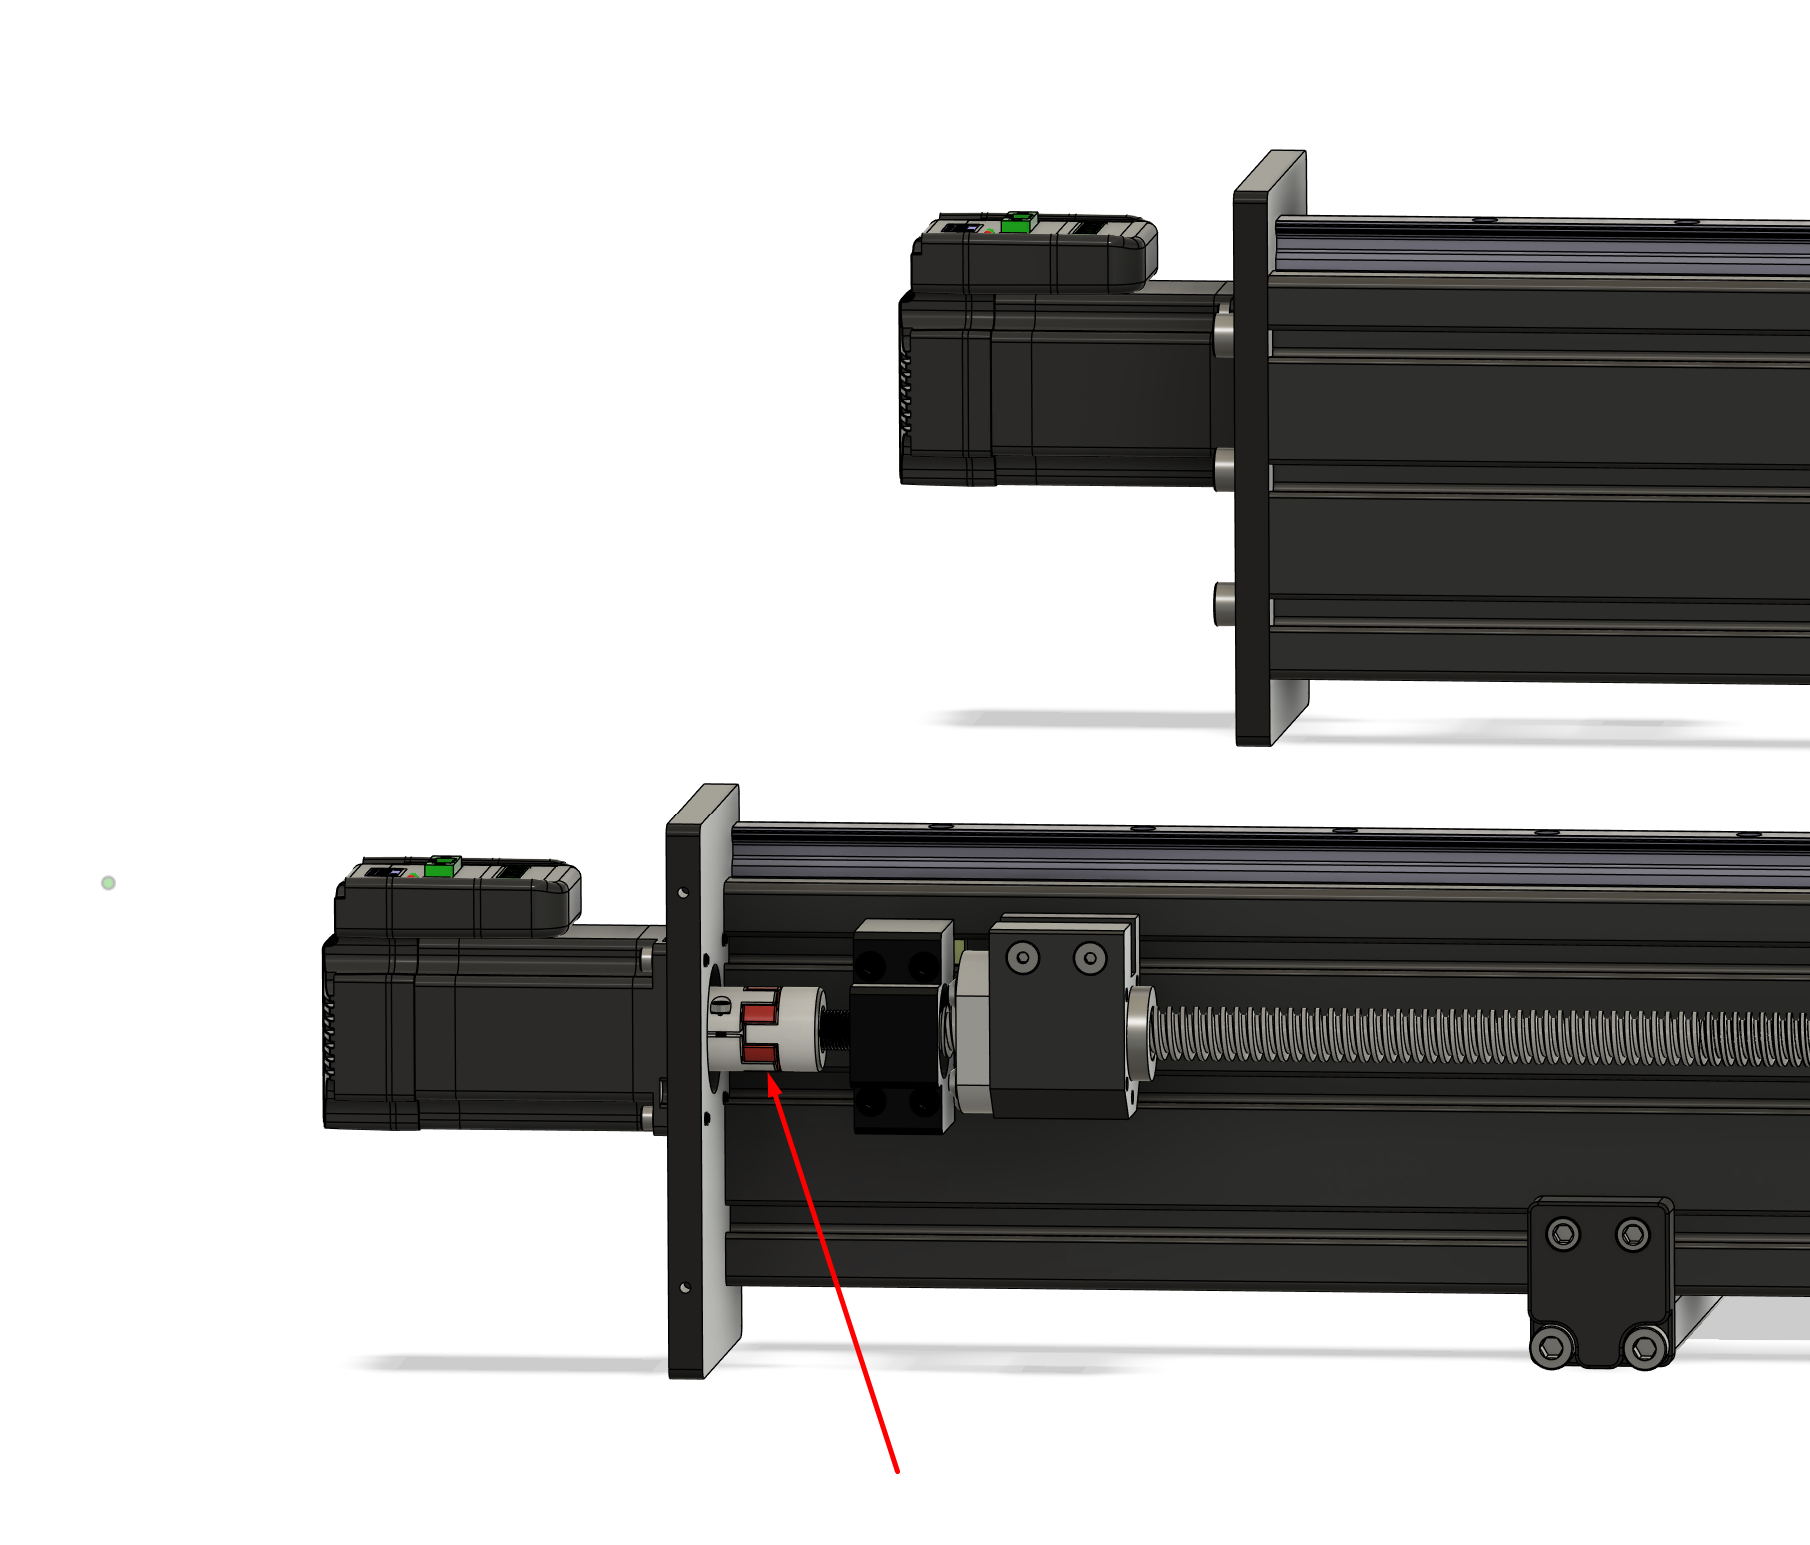
Installing the X stepper is also very simple with 4 screws:
Again, do not tighten the coupler yet, as we'll need move the z-carriage if it was not pre-installed at our facility.

The Z stepper is also installed as follows:
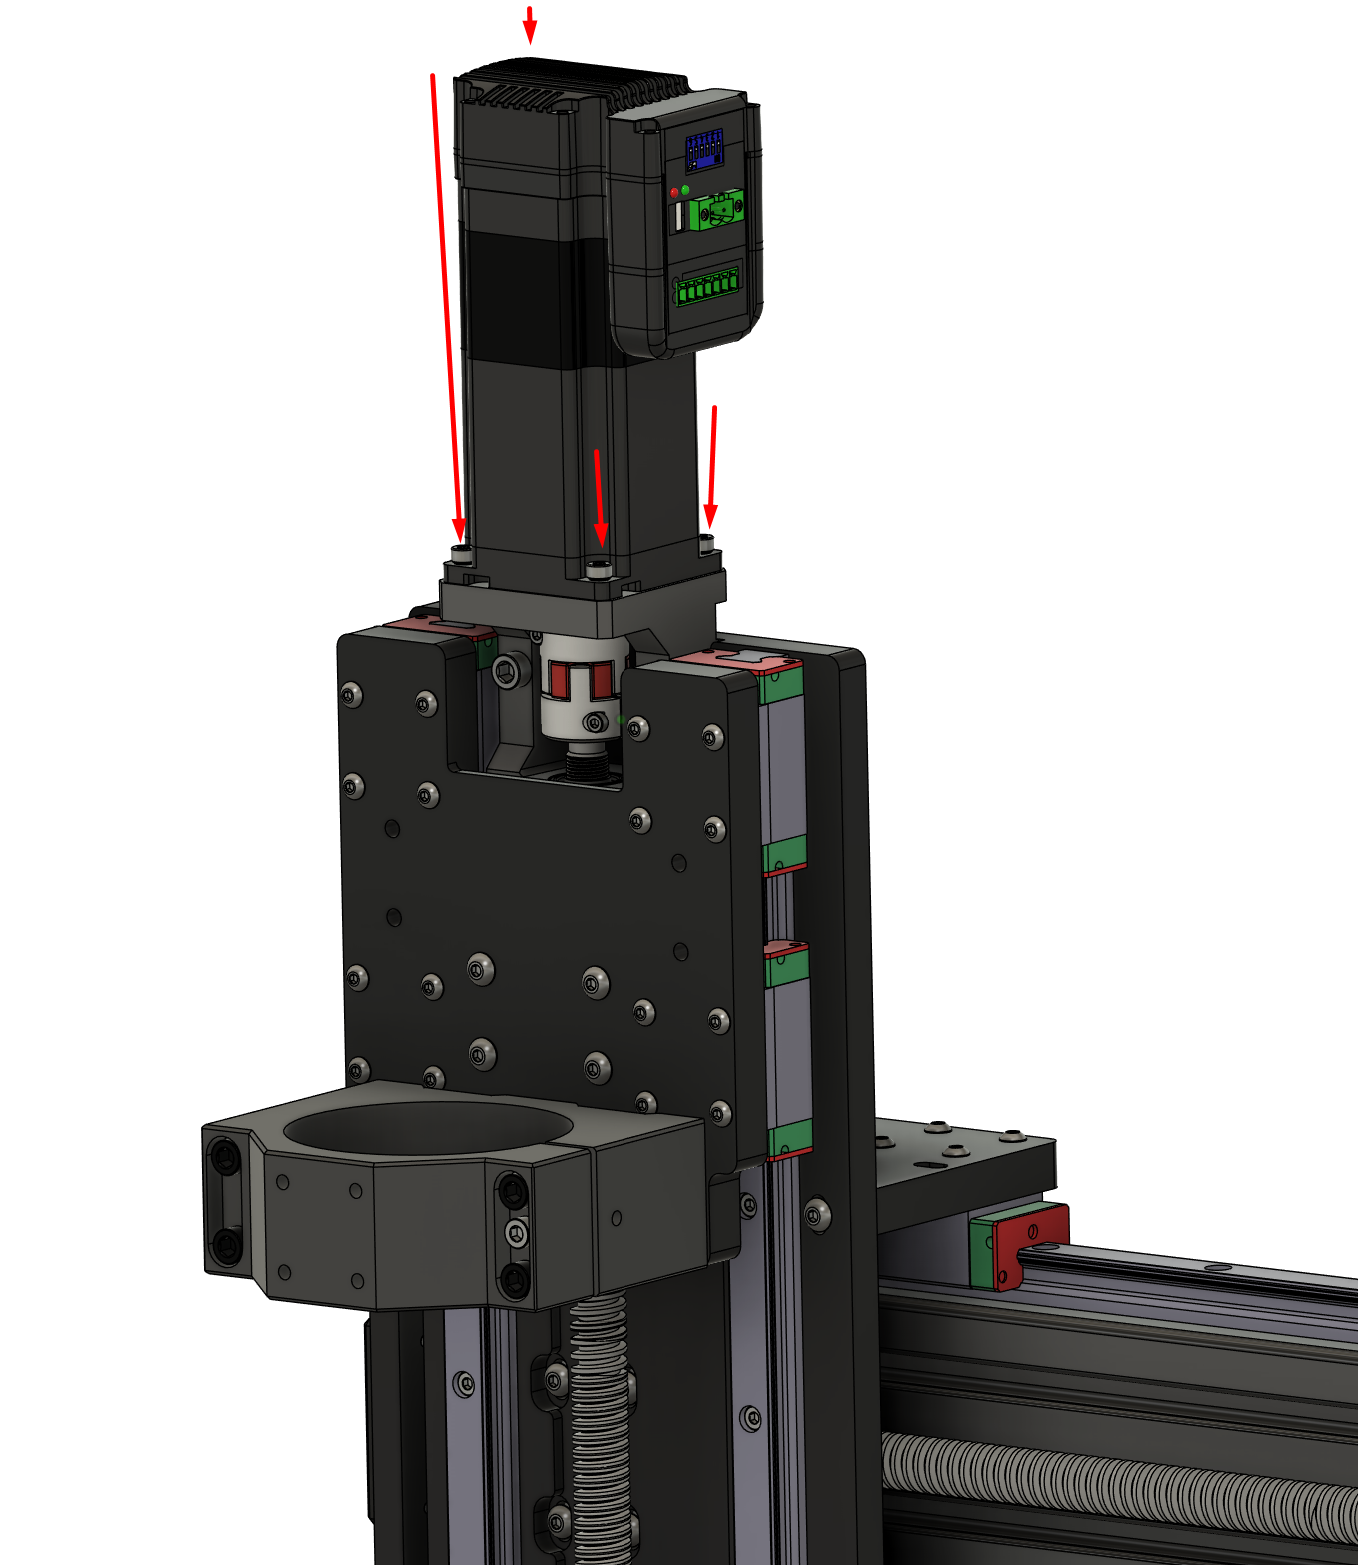
Notice how the Z stepper motor itself is longer. This is because it has an integrated electronic brake that locks down when not powered up.
For this reason we also do not want to tighten the Z coupler just yet.

