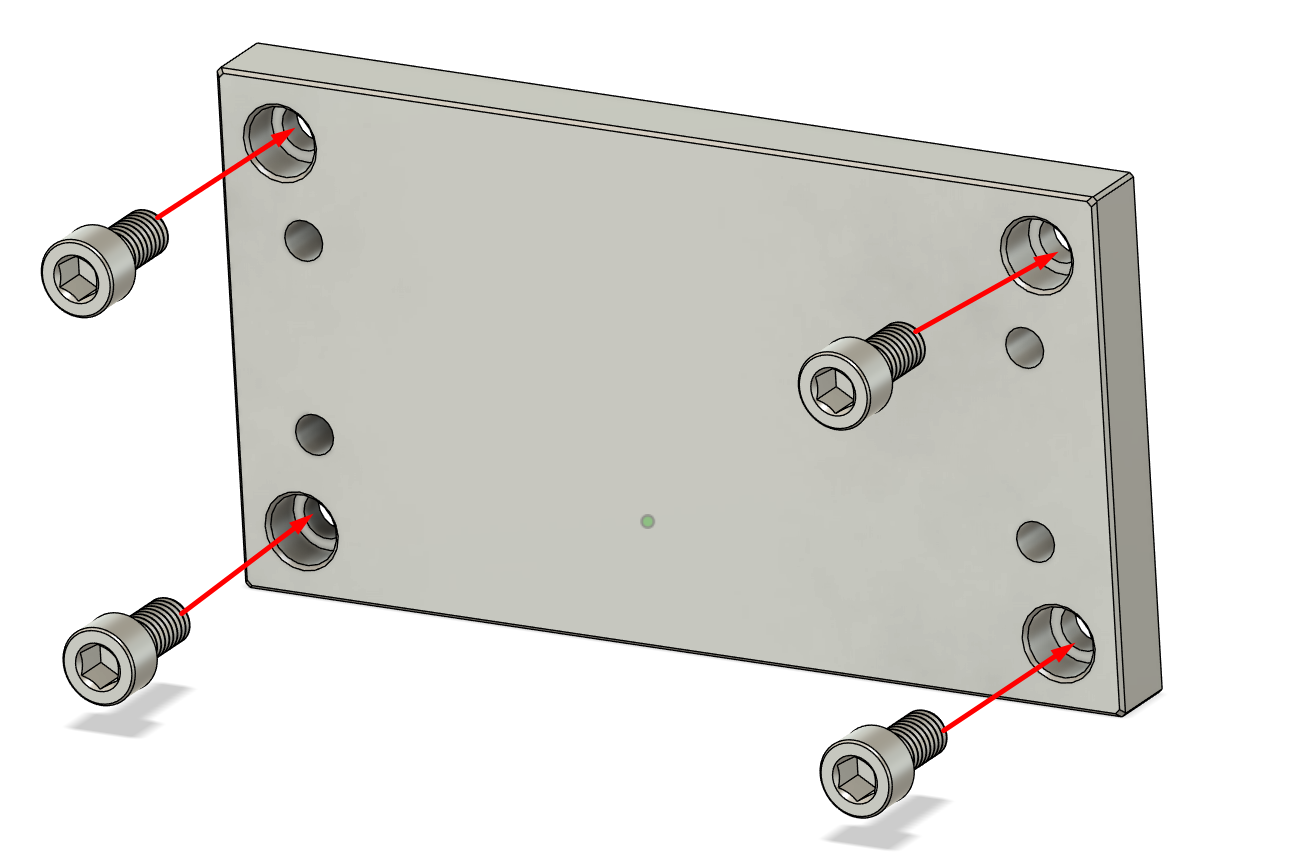
Our spindle mount system is designed in two parts:
-
A common spindle mount clamp, available for either 65mm or 80mm spindles.
-
An adapter plate, which either replaces your machine’s Z-plate or attaches directly to it.
The first step is to verify that you have the correct adapter plate for your CNC model. Each machine requires a slightly different mounting method, so our plates are engineered to match those variations.
Keep in mind that designs may evolve over time. The plate you receive may look slightly different than the reference images below—but rest assured, the mounting hole patterns and machine compatibility remain unchanged.
Custom Plates Available
If your CNC machine isn’t listed below, don’t worry—we can help. Our team can design and manufacture a custom adapter plate tailored to your specific machine. This ensures you’ll still be able to securely mount and use our spindle system with confidence.
👉 Contact our support team with your machine details, and we’ll work with you to create the right solution.
or best results, we strongly recommend applying blue Loctite to all screws during installation. This helps prevent hardware from loosening due to vibration while carving.
|
Mega-V(1) (2) M5x20mm Button Screws (2) M5 Lock Nuts Attaching directly to the stock Z plate. |
Mega-V2 (4) M5x20mm Button Screws (2) M5 Lock Nuts Attaching directly to the stock Z plate. |
|
(4) M6x12mm Socket Screws Screwed directly into the stock Z plate. |
LongMill MK1 Reusing existing hardware and completely replacing the MK1's steel Z plate. |
|
LongMill MK2 Reusing existing hardware and completely replacing MK2's steel Z plate |
StepCraft You'll be reusing the t-track nuts from your original mount along with the included M6x12 Socket screws. |
|
Workbee (4) M5x15mm Button Screws Reusing (2) M5 T-Track nuts that came with your workbee. Attaching directly to the Z extrusion. |
i2R This plate has 70mm spaced mounting holes to attach to i2R's t-track mounting system. |
Keep in mind that your adapter plate may have extra holes beyond those shown above. These are intentional, as some plates are designed to fit multiple machine models.
Secure the plate firmly using the specified hardware. If your machine’s original hardware isn’t being reused, we’ll supply the necessary fasteners with your order.
On every adapter plate designed above... there will be 4 threaded holes to receive our spindle mount's M6x80mm screws.

The second step is to install the left two M6x80mm bolts, the spindle motor, and the other two M6x80mm bolts.

|
Bonus: Use the included M5x25mm screw to expand the diameter if you’re having trouble installing your spindle motor. But don’t leave the screw after installation is complete. |
|
|


|
Another bonus: We’ve added a variety of M5 screw holes for adding accessories around your spindle mount. |


 Shapeoko 5 Pro


